Roasted Butternut Squash Bisque (with Maple Cream)

This past Saturday, it was cold, rainy, and dreary. The kind of day where you want to cozy up on the couch in your sweats with a fuzzy blanket and eat a warm bowl of soup. I’m not talking about watery canned soup – I’m talking about a thick, creamy soup that is hearty AND healthy. What I developed is a luscious Roasted Butternut Squash Bisque loaded with butternut squash, carrots, apples, and roasted garlic. Inspiration from @platingsandpairings! I added some warm fall spices and a lightly sweetened maple cream drizzle that makes this soup feel like a warm hug in a bowl! To make sure it is a good recipe, it has to pass the husband test. My hubby can be a bit skeptical of soups. He grumbles that they aren’t “filling” and that he is starving an hour later. Well, not this time. This soup is husband approved! I added a simple grilled cheese sandwich on the side for dunking and he was a happy man! How to Make Roasted Butternut Squash Bisque Preheat the oven to 425°F. Line a large rimmed baking sheet with parchment paper. Spread the butternut squash, carrot, apple, and onion on the sheet. Cut the top off of the head of garlic and place on the sheet. Drizzle olive oil over the vegetables and toss lightly to coat. Season with salt and pepper. (I also like to add a few sprigs of fresh thyme) Working in batches, place half of the roasted vegetables and 2 cups of broth in a blender or food processor. Puree until smooth. Transfer to a medium stockpot. Repeat with the second batch of roasted vegetables and remaining 2 cups of broth. Heat the stockpot over medium heat until the soup is hot. Add the maple syrup and bourbon along with a ½ cup of heavy cream or coconut milk. Stir in the thyme, sage, cinnamon, nutmeg and ground red pepper until combined. Taste and add salt and pepper as needed. Maple Cream: In a small bowl, whisk together a ¼ cup of Greek yogurt and the maple syrup. To serve: Fill your soup bowl. Drizzle 1 Tbsp. of the maple cream over the soup and swirl it in. Garnish with a sprinkle of toasted pumpkin seeds. Enjoy! Is this bisque vegan? To make this recipe completely vegan, substitute coconut milk or cashew milk for the heavy cream and Greek yogurt. A luscious, rich soup with roasted butternut squash, carrots, apples, and garlic topped with a lightly sweetened maple cream. It's a hug in a bowl! You might also enjoy
My Favorite M&M Cookies
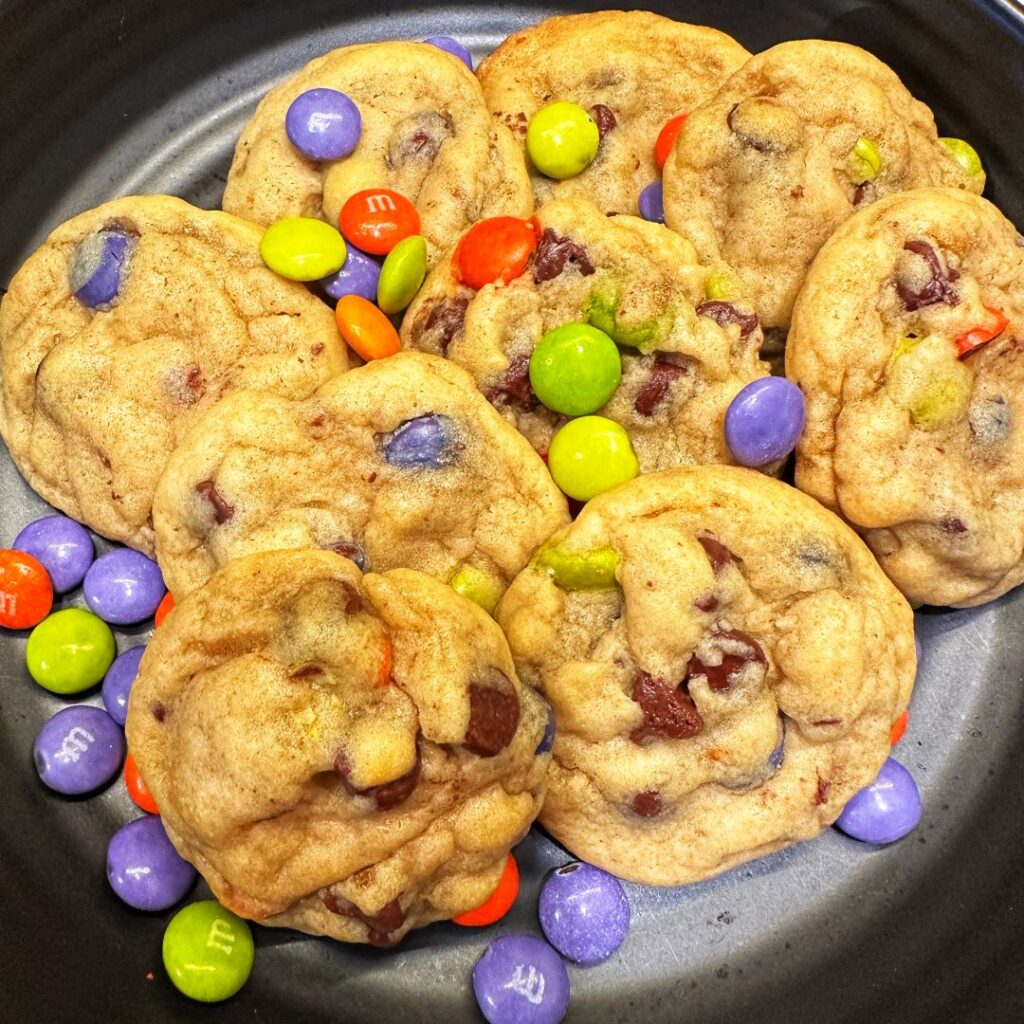
This week, the temperatures dropped into the 40’s and 50’s and overnight, the leaves turned beautiful shades of red and gold. Autumn is officially here. For me, it means it’s time for slow cooker meals, casseroles, and COOKIES! Today, I made My Favorite M&M Cookies. I love baking cookies and I research recipes like most people read novels! I came across this recipe on I Heart Naptime quite some time ago and have adapted it slightly over the years. This is a classic chocolate chip cookie recipe – the kind where the cookies have crisp edges and a delightfully chewy center. These cookies are studded with semi-sweet chocolate chips and brightly colored M&Ms. The fun part is you can use holiday themed M&Ms to change the colors throughout the year! Bakery Style I like to make these cookies about 3 inches, but they are also awesome as BIG cookies! If you want to make them much larger, like the ones you get at your favorite bakery, use a ¼ cup scoop and place on the cookie sheet 3” apart. Bake for 10-12 minutes. Cool for 2-3 minutes on the cookie sheet before transferring to a cooling rack. How to Make My Favorite M&M Cookies Wet Ingredients In a large bowl, cream butter, brown and granulated sugars together until fluffy. Add in the eggs and vanilla. Mix until just combined. Dry Ingredients In a separate bowl, whisk together the flour and baking soda. Turn the mixer on low and gradually add the dry ingredients to the wet ingredients until just combined. Fold and Chill Fold in the semi-sweet chocolate chips and M&Ms. Refrigerate the dough for 30 minutes. Preheat Preheat the oven to 375°F. Line two cookie sheets with parchment paper. Prepare to Bake Scoop cookie dough onto cookie sheets using a medium cookie scoop or measure out dough, 2 Tbsp. for each cookie. Place 2 inches apart. Add 3-5 extra M&Ms on top of each cookie. It’s Bake Time! Bake the cookies for 8-10 minutes until the edges of the cookies begin to turn golden brown. Cool the cookies on the sheets for 2 minutes to allow for carryover cooking. Transfer the cookies to wire racks to cool completely. Makes 24-30 cookies. Chewy cookies loaded with chocolate chips and M&Ms! These are everyone's favorites!
Turkey Sausage Stuffed Peppers
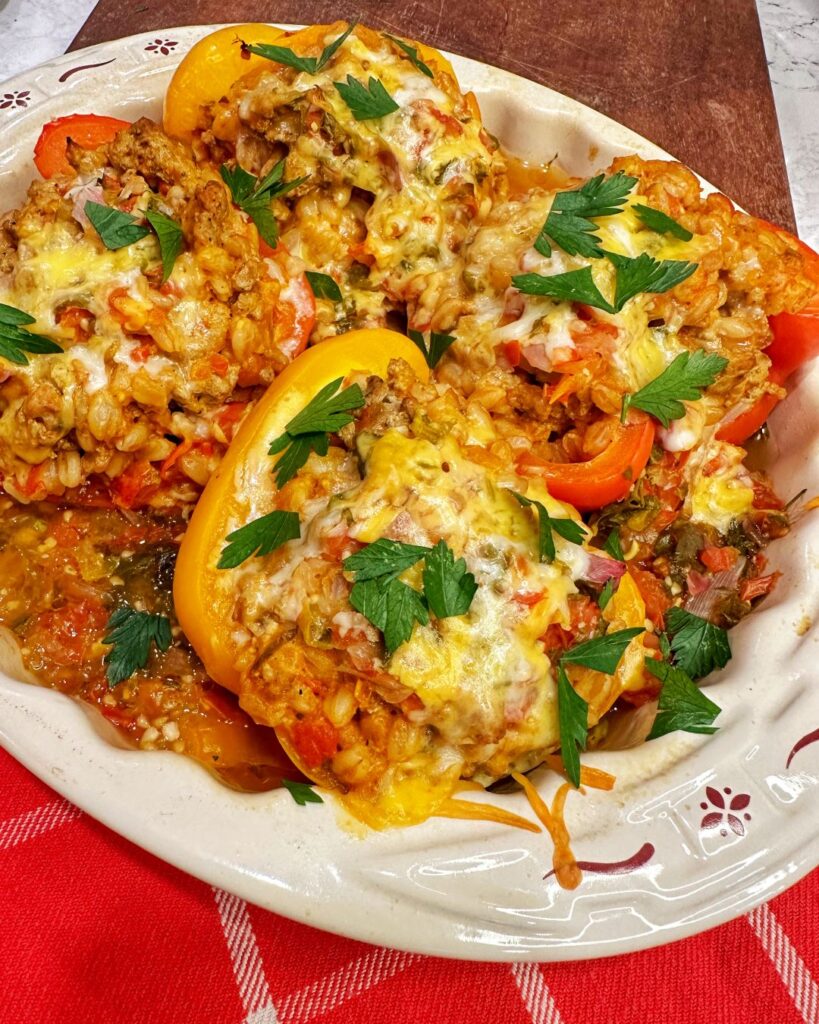
As a kid growing up, I was not a stuffed pepper fan. At all. It wasn’t until I was in my 30’s that I realized I really do like stuffed peppers, just not green stuffed peppers. Once I started making them with red, orange, or yellow sweet bell peppers, it was a complete game changer for me! Turkey Sausage Stuffed Peppers is one of my go to comfort food dishes. The turkey sausage and pico de gallo gives it a Tex-Mex spin, while the farro is a healthier alternative to white rice with its nutty flavor and chewy texture. This recipe is husband approved! While I am quite full with one half, my husband will eat two halves. He loves the heartiness and that it doesn’t “taste healthy.” Serve it with a fresh salad for a satisfying meal! What is Farro? Farro is an ancient grain that looks similar to wheat berries before it’s cooked. After cooking, it looks and tastes similar to barley. It is very nutritious, high in protein and fiber, and contains a wide range of antioxidants. Today, you can find it in most grocery stores next to the rice. You can even find it in convenient microwavable pouches for easy meal prep! How to Make Turkey Sausage Stuffed Peppers Prep Preheat the oven to 400° F. Spray an 8×8 baking dish with olive oil. Roast for 25-30 minutes until tender. Filling Heat a large skillet to medium and spray with olive oil. Add the turkey sausage and sauté for 4 to 5 minutes until cooked through, breaking it into large crumbles. Add the farro, 1/2 cup of shredded Colby Jack cheese, ½ cup of the pico de gallo, and V8 juice. Mix well and season with salt and pepper to taste. Assemble Cut the bell peppers in half lengthwise. Remove the ribs and the seeds. Add one cup of the pico de gallo to the bottom of the baking dish. Fill each of the pepper halves equally with the filling and place in the dish. Spoon the remaining pico de gallo on top of each pepper and sprinkle with 1 tbsp. of cheese on each pepper. Bake Cover tightly with aluminum foil and bake for 40-45 minutes until peppers are tender. Remove foil and let cool 5 minutes before serving. You might also enjoy Stuffed peppers filled with a hearty blend of turkey sausage and farro.
Blueberry Rhubarb Crumb Pie
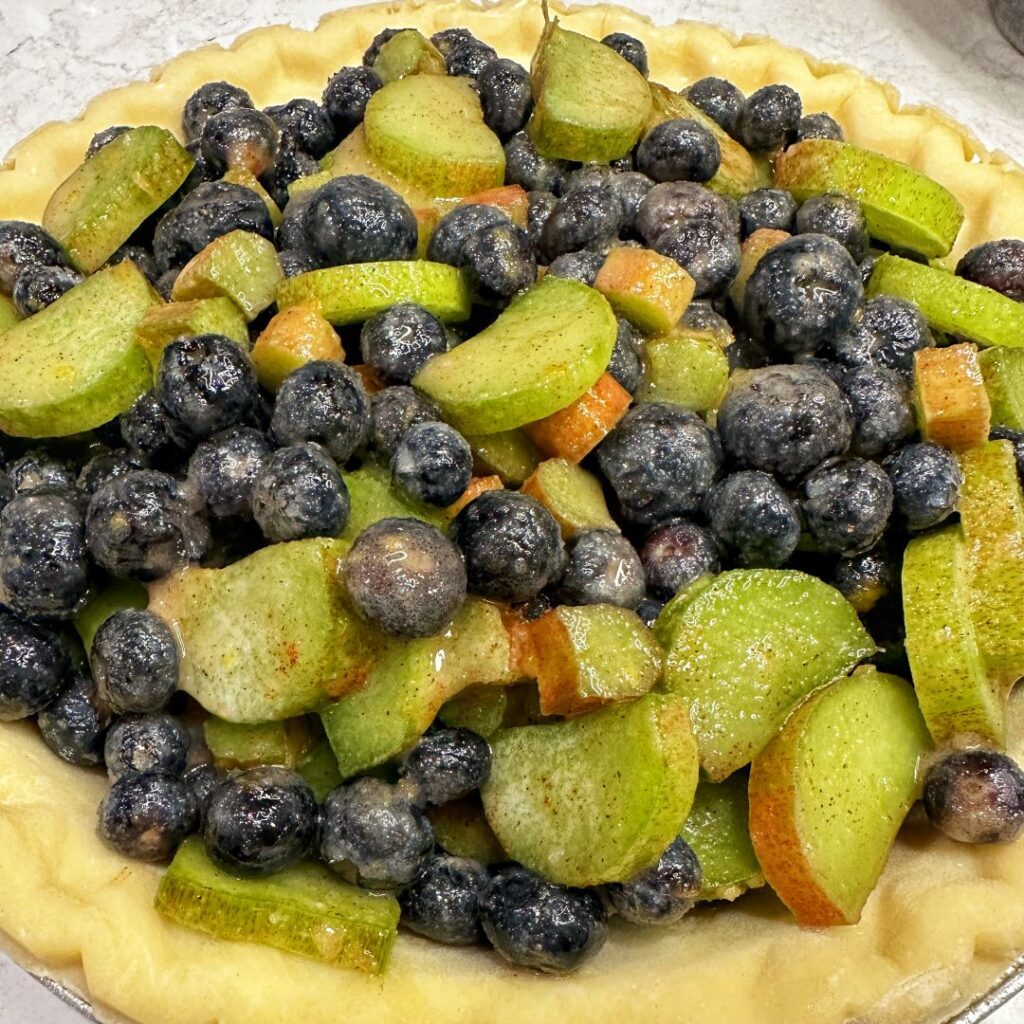
I love this time of year when fresh fruits and vegetables start to be in season! Right now, blueberries and rhubarb are readily available. Perfect for making Blueberry Rhubarb Crumb Pie! Juicy, sweet blueberries and tart rhubarb complement each other perfectly in this pie! With a thick crumb topping, it is downright indulgent. Rhubarb? Living in the Northeast, there are many Pennsylvania Dutch recipes for rhubarb. Stewed rhubarb, strawberry rhubarb pie, rhubarb coffee cake, strawberry rhubarb jam, rhubarb custard pie. You get the idea! If you have never had it, it is a very large leafy plant with thick stalks that are green with rosy streaks. The leaves are not edible, but the stalks can be used for several dishes. If you eat it raw, it will be very sour and crunchy. But once cooked, it gets very soft and the sourness mellows to a pleasant tartness that pairs wonderfully with sweet blueberries or strawberries. Pie Crust – Homemade vs. Store Bought I confess that although I prefer EATING pie with homemade crust, I tend to BUY pre-made pie crust to save time. That being said, for this recipe, I use a frozen deep dish pastry crust because it is a bit thicker than regular pie crust and holds up to the juiciness of the filling. No soggy crust here – it’s nice and flaky! How to Make Blueberry Rhubarb Crumb Pie Prepare Filling Preheat the oven to 375° F. In a large bowl, mix together the blueberries, rhubarb, sugar, cornstarch, cinnamon, lemon zest, and lemon juice. Combine well and set aside for 10-15 minutes to allow the juices to moisten the filling. Prepare the Crumb Topping: In a medium bowl, whisk together the flour, white and brown sugars, and cinnamon. Drizzle the melted butter over the dry ingredients and stir together with a fork until all the butter is absorbed and it starts to clump. Prepare the Pie: Pour the filling into the deep dish pie crust. Sprinkle the crumble mixture evenly over the top. Place a pie shield on the edges to prevent over-browning (you can also use aluminum foil). Place on a rimmed baking sheet to catch any spilled juices while baking before putting in the oven. Bake Bake for one hour. Check to see if the crumb topping is golden brown and the filling is hot and bubbling, including in the center. You may need to bake for an additional 10-20 minutes depending on your oven. Cool Remove from the oven and cool for at least 4-5 hours or overnight before serving. You want to give the filling time to cool and firm up so it isn’t soupy. Cover the pie tightly and store in the refrigerator for up to 5 days. Homemade pie bursting with juicy, sweet blueberries and tart rhubarb. Topped with a crunchy, cinnamon crumb topping! You might also enjoy
TikTok Upside Down Apple Tarts
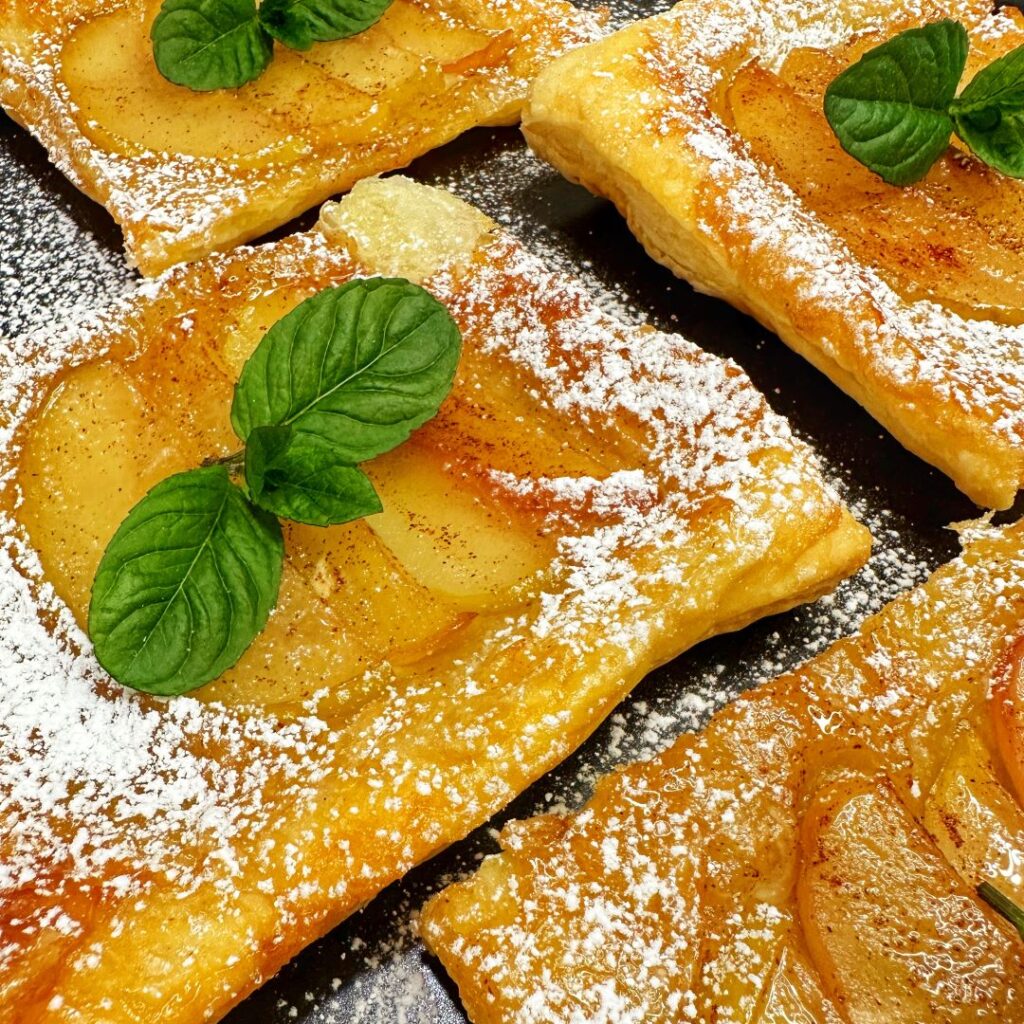
I saw one of the new viral TikTok recipes on social media and thought it would be perfect for Mother’s Day brunch! TikTok Upside Down Apple Tarts are quick, easy, elegant AND delicious! Viral TikTok Upside Down Apple Tarts Recipe When I saw other bloggers making this, I thought to myself, this is SOOO Easy BUT does it taste good? I tried the viral cottage cheese ice cream and that was an epic fail so I was a bit skeptical about the upside down tarts. Well…let me tell you…these are DELICIOUS! Flaky pastry with tender apples and carmelized honey dusted with cinnamon – it’s fantastic! The beauty of this dessert is the puff pastry. You really can’t screw up puff pastry. It makes you look like a pro, even when you’re not! I chose to use apples for this dish (because that is what I had in the refrigerator) but any stone fruit would be great too! Plums, peaches, and nectarines would all be great options! I would also like to try fresh pineapple! So let’s make these viral TikTok Upside Down Apple Tarts! How to Make TikTok Upside Down Apple Tarts Preheat Preheat the oven to 400°F. Line a baking sheet with parchment paper. Cut Cut puff pastry into 4 pieces. Thinly slice Thinly slice (⅛”) apples. You will need 4 slices for each tart. Drizzle the honey onto the baking sheet in 4 spots. Sprinkle each honey spot evenly with cinnamon. Lay 4 slices of apple on each spot. Assemble Place the puff pastry square on top of the fruit and honey, gently pressing down to seal the edges. Use a fork to crimp the sides. Mix the egg and water in a small bowl. Brush the puff pastry with the egg wash. Bake Bake for 15-20 minutes until the puff pastry is golden brown. Let the tarts cool for about 5 minutes. Then carefully flip each one over onto a serving plate. Sprinkle the tarts with powdered sugar and serve! Serve Serve with a scoop of vanilla ice cream for an extra treat! Elegant apple tarts are easy to make and sure to impress your guests! You might also enjoy
Sheet Pan Chicken Bruschetta and Asparagus
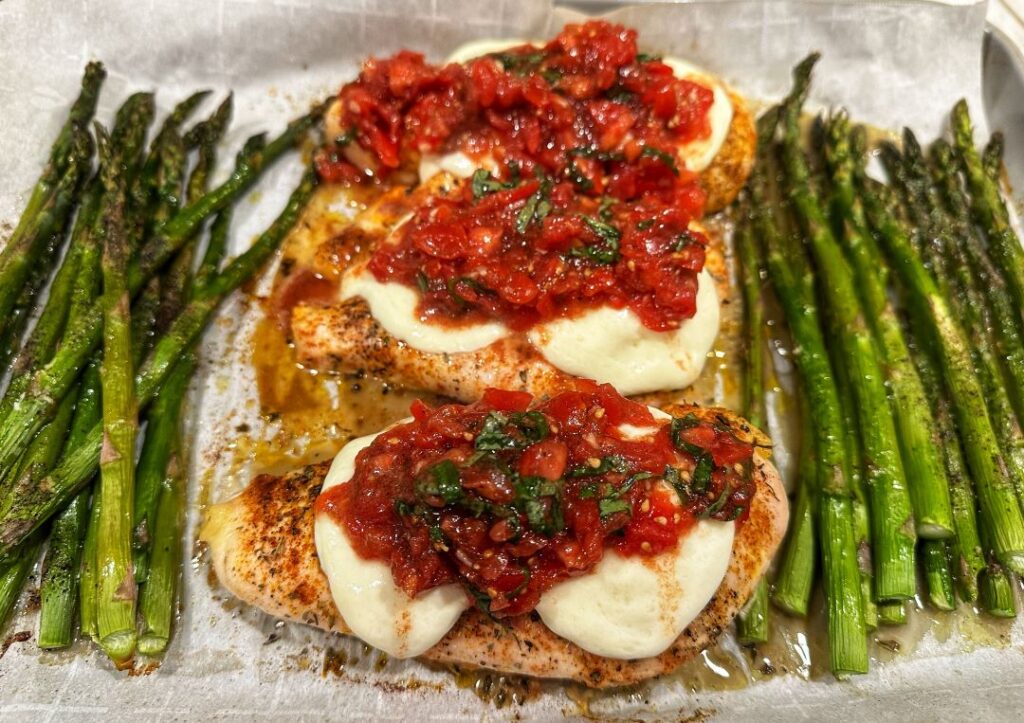
With Mother’s Day just around the corner, I wanted to share some easy and elegant meals that will make you look like a rockstar with little effort. My Sheet Pan Chicken Bruschetta and Asparagus embraces all of the spring flavors we love and is perfect for a late lunch! Chicken breasts are lightly seasoned and roasted alongside fresh asparagus. While it is roasting, enjoy a glass of wine with your mom! Right before serving, top the chicken with fresh mozzarella and bruschetta. It will be so colorful and bright! This dish highlights your favorite Mediterranean flavors. Your mom is going to LOVE this and so are YOU! How to Make Sheet Pan Chicken Bruschetta and Asparagus Preheat Preheat the oven to 400° F. Line a large, rimmed baking sheet with parchment paper. Season the chicken on both sides with salt and pepper. Lay in the middle of the baking sheet. Lay the asparagus on both sides of the chicken. Drizzle everything with olive oil. Season the asparagus with salt and pepper. Toss the asparagus lightly to coat. Place in the oven for 25 minutes or until chicken is cooked to 165°F. Toppings Add slices of fresh mozzarella on top of each piece of chicken. Return to the oven for 4-5 minutes until it starts to melt. Remove from the oven and spoon the bruschetta evenly over the chicken. Optional Top everything with a drizzle of balsamic glaze and fresh basil. Need a great bruschetta recipe? Check out my Easy 5-Minute Bruschetta – you can make it while the chicken is roasting in the oven! Easy one sheet meal with juicy chicken, roasted asparagus and fresh bruschetta! You might also enjoy
