
Easy Crockpot BBQ Chicken
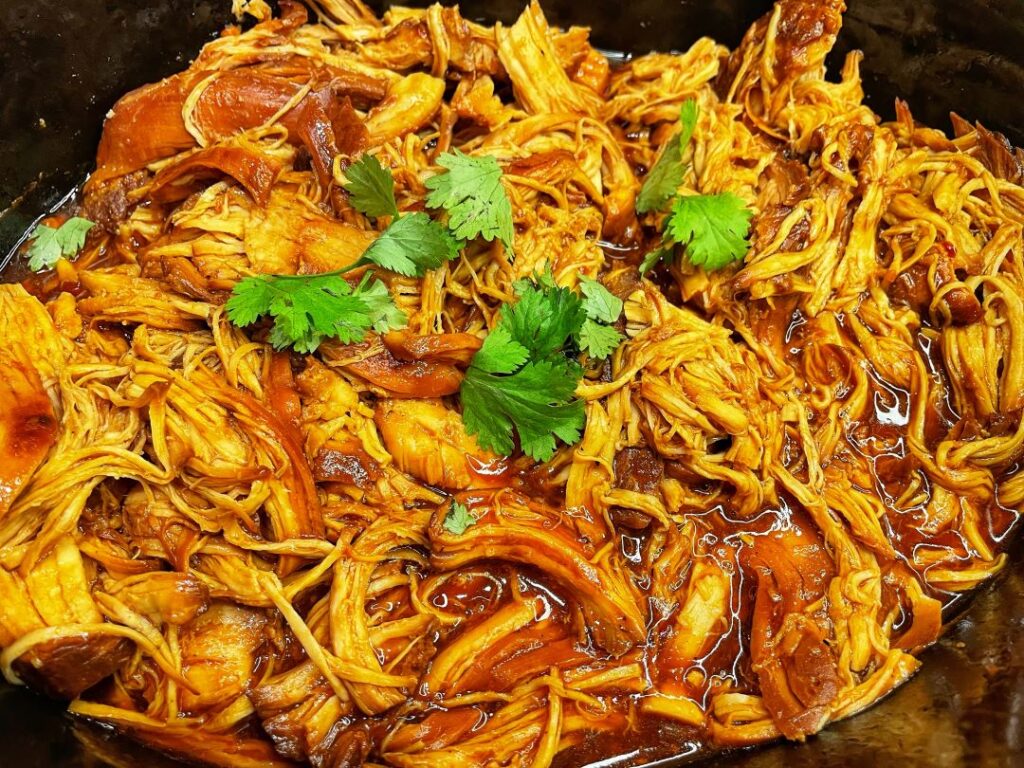
I’m sharing my favorite Easy Crockpot BBQ Chicken recipe today. Just 5 ingredients, it is quick to assemble, budget and family friendly, and can be used in so many different dishes! Throw everything into your crockpot in the morning before work and simply shred when you get home. Best part? You can use fresh or frozen chicken. No worries if you forgot to thaw your chicken the night before. You will still have tasty, tender BBQ Chicken! Add the pulled chicken to your favorite meal and DONE! This also freezes well for a quick heat and eat meal later. I’ve also included directions to make this in your Instant Pot. So EASY!!! My Favorite serving ideas: BBQ Chicken Sandwiches on Hawaiian rolls with cheese and cabbage slaw. BBQ Chicken Stuffed Sweet Potatoes topped with quick cabbage slaw, chopped red onion and cilantro. Southwest BBQ Chicken Crunchwraps with fresh pineapple salsa and roasted poblano crema. BBQ Chicken Pizza How to Make Easy Crockpot BBQ Chicken Crockpot Directions: Prep Spray the inside of the crockpot with non-stick spray. Place chicken breasts in the bottom of the crockpot. Season with salt and pepper. Make the sauce In a small bowl, mix together the BBQ sauce, Zesty Italian dressing and worcestershire sauce. Pour over the chicken, covering completely. Slow Cook Turn the crockpot on and cook chicken on low for 7-8 hours or high for 4 hours. Shred Take chicken breasts out and shred. Put shredded chicken back into the sauce and mix thoroughly. Season with additional salt and pepper to taste. Instant Pot Instructions: Make Sauce and add chicken In a small bowl, mix together the BBQ sauce, Zesty Italian dressing and worcestershire sauce. Add a ½ cup of chicken broth (to prevent Burn Warning). Pour into the Instant Pot. Place chicken breasts into the sauce. Pressure Cook Close the Instant Pot lid and turn the steam release valve to sealing position. Set the cook time to 17 minutes at high pressure. Cook time is the same for fresh or frozen chicken breasts. Release Steam Let Instant Pot natural release for 10 minutes and then move the steam release valve to venting position. Once steam has been released and the pin drops, carefully open the lid. Check that the chicken has cooked to an internal temperature of 165 F. Shred Take chicken breasts out and shred. Put shredded chicken back into the sauce and mix thoroughly. Season with additional salt and pepper to taste. If sauce is too thin, turn Instant Pot to Sauté function and simmer for 5 minutes or until thickened. Add shredded chicken back into the pot. Serve in your favorite dishes! Easy Crockpot BBQ Chicken – Just 5 ingredients, it is quick to assemble and can be used in so many different dishes! Instant pot version too! You might also enjoy
Orange, Walnut, and Arugula Salad
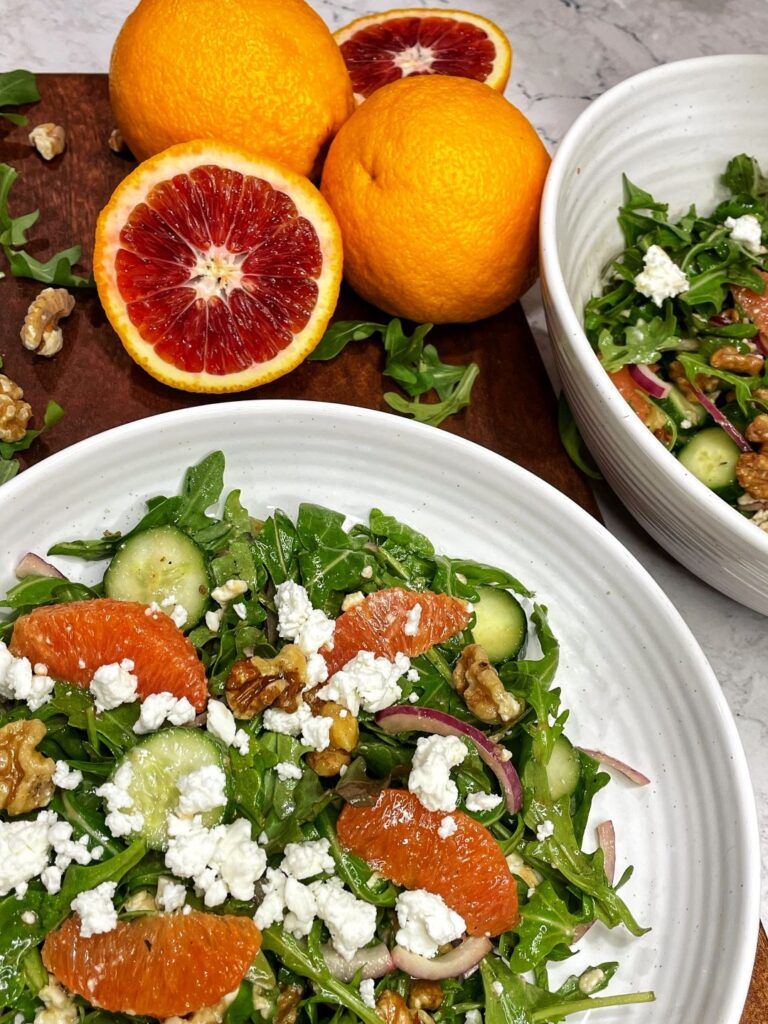
This Orange, Walnut, and Arugula Salad is bright, vibrant, and healthy! With my Blood Orange Balsamic Dressing, its happy spring flavors brighten a winter day! One of the things I struggle with in the winter is to strike a balance between comfort food and healthier eating. That’s when I start grazing the produce section of my local grocery to see what is in season. And you know what is in season in January? Oranges! There are many wonderful varieties of citrus available at this time of year. Some of my favorites are blood oranges, Cara Cara, and Sumo oranges (these are delicious for eating)! Choose what looks freshest. This week, the blood oranges looked Ah-Mazing! So I grabbed a bagful and brought them home. When I constructed this salad, I wanted a variety of textures and flavors, as well as a big flavor punch. I opted for the baby arugula for its peppery bite, some crisp cucumber and thinly sliced red onion, and tangy feta cheese. I added in beautiful blood oranges for sweetness and toasted walnuts for some healthy fats and that great nutty flavor. To bring all the flavors together I topped it with my absolute favorite Blood Orange Balsamic Dressing. Happiness in a bowl! How to Make Orange, Walnut, and Arugula Salad Prepare all of your ingredients. Chop and slice the cucumber and red onion. Peel and segment the oranges. Toast Walnuts Heat a dry, small pan over medium heat. Add your walnuts in a single layer. Heat the walnut halves, tossing frequently, until they get a nice, nutty aroma and are slightly browned, about 5 minutes. Watch carefully – they can go from beautifully toasted to burnt very quickly. Combine Combine ingredients in a large bowl. Pour the Blood Orange Balsamic Dressing over the top. Toss well to combine. Serve Serve immediately and enjoy! Substitutions If you can’t find blood oranges, substitute navel oranges or Cara Cara. Dressing If you can’t find blood oranges, substitute navel oranges or Cara Cara. Nuts Swap out the walnuts for almonds or pecans – they would be delicious too! Orange, Walnut and Arugual Salad is bright, vibrant and healthy! Its happy spring flavors brighten a winter day! You might also enjoy
Crispy Baked Chicken Milanese
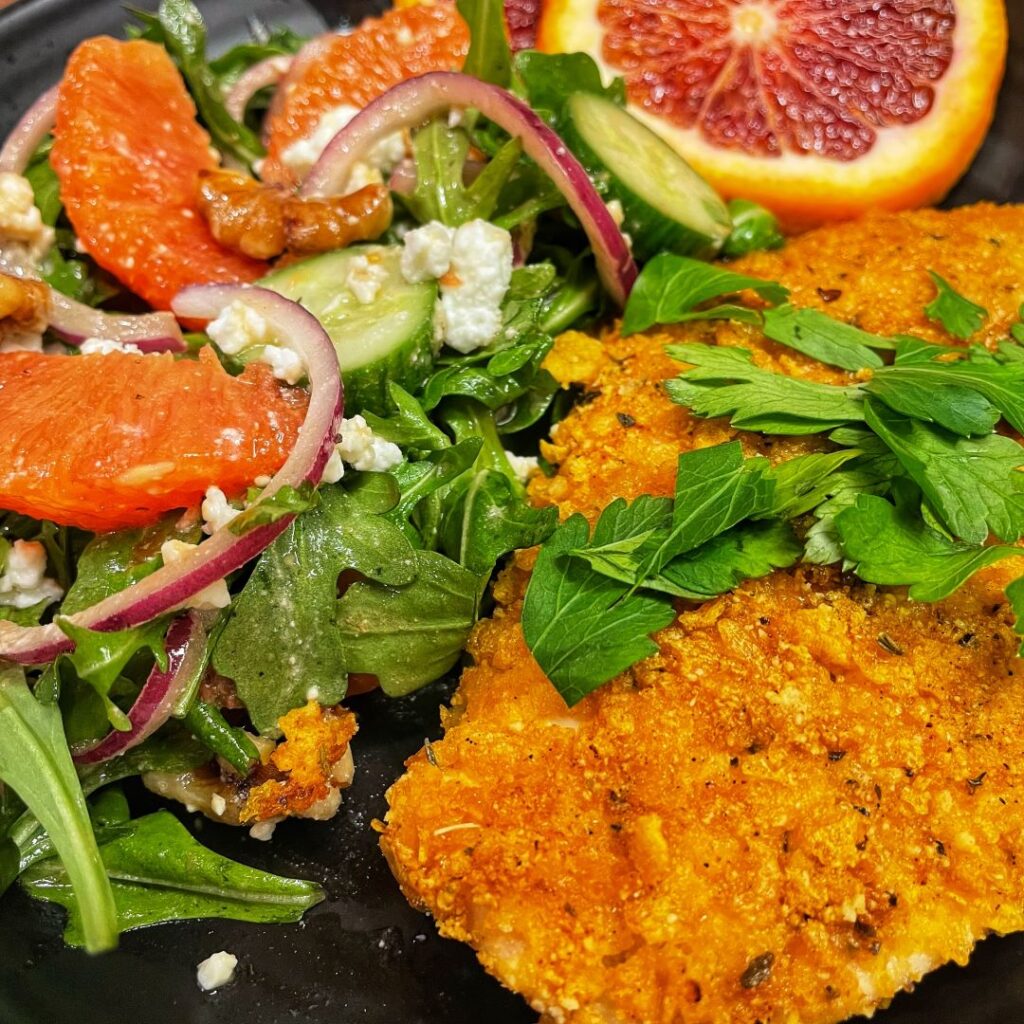
Crispy Baked Chicken Milanese is perfect for an easy, weeknight meal! Perfect with a peppery arugula salad, roasted potatoes, or macaroni and cheese – it’s a guaranteed winner in your household! This version of Chicken Milanese uses crushed cornflakes and almond flour to create that crispy, deep fried taste, but is oven-baked instead! I love fried chicken in all its glorious forms: chicken nuggets, popcorn chicken, chicken wings, you name it. But…I DO NOT love the mess it leaves in the kitchen. The oil splatters, the messy skillet, and that stale “fried” smell that can linger until the next morning. You know EXACTLY what I mean! So – I set out to make a healthier, baked version that still has that satisfying crunch of a great fried, breaded chicken cutlet. Crispy Baked Chicken Milanese for the win! You can double this recipe and use it for meal prep too! Bake ahead and use for lunches on top of salad! I love to make an Orange, Walnut and Arugula Salad or some awesome roasted veggies like Holiday Roasted Vegetable Medley, for quick, flavorful, and nutritious work lunches! Chicken tenderloins would be a great substitution too! Kids will love how crunchy their baked chicken fingers are! I’m hungry! Let’s cook together! How to Make Crispy Baked Chicken Milanese Preheat oven Preheat the oven to 425°F. Line a rimmed baking sheet with parchment paper. Set aside. Breading Station Whisk together the egg, ½ tsp. salt, ½ tsp. pepper, and water in a shallow dish. In another shallow dish, combine crushed corn flakes, almond flour, paprika, cayenne pepper, sea salt, and black pepper. Coat Chicken Take each chicken cutlet and dip it into the egg wash, coating both sides. Then dredge it in the corn flake mixture, coating both sides. Press the cornflake mixture into the chicken. Lay it on the baking sheet. Coating Continue until you have coated all of the chicken cutlets. You will have approximately 4-5 cutlets. Spritz with olive oil Lightly spray both sides of the breaded cutlets with the non-aerosol olive oil. Place in the oven and bake for 10 minutes. Flip the cutlets over and continue baking for an additional 12-15 minutes until chicken is cooked through to an internal temperature of 165°F. SErve Serve with your favorite sides and enjoy! Try serving this with Orange, Walnut and Arugula Salad! It’s sooo good! Note You can make your own chicken cutlets by slicing 2-3 boneless chicken breasts in half, lengthwise (butterfly) and pounding out to about a ½” thickness. To save time, I usually buy the prepared chicken cutlets at the store. Chicken cutlets seasoned, breaded, and baked to golden, crispy perfection! You might also enjoy
Blood Orange Balsamic Dressing
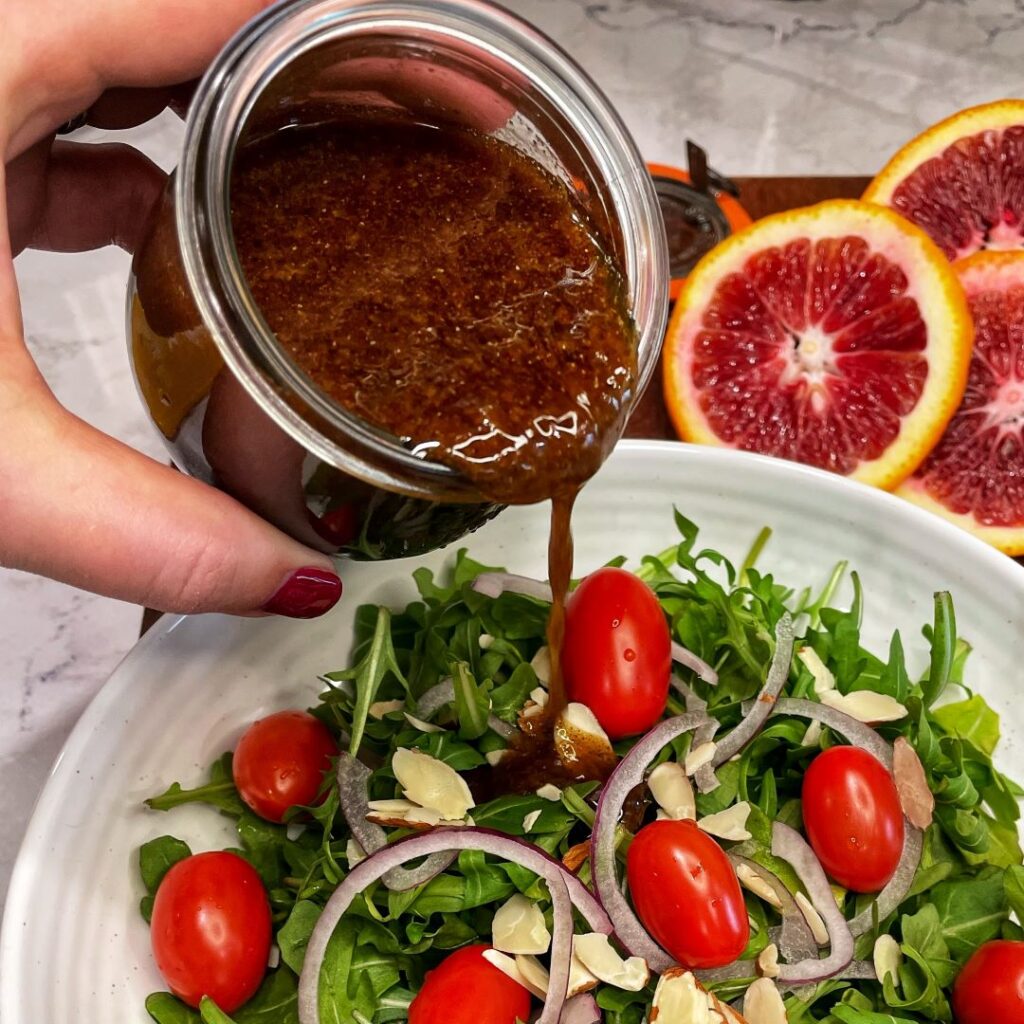
When fresh blood oranges are in season, this Blood Orange Balsamic Dressing is the one you want to make! The bright citrus notes with the rich, aged balsamic is balanced with the sweetness of maple syrup to create a luscious dressing for salads or drizzled over your favorite roasted vegetables. How to Make Blood Orange Balsamic Dressing Prepare all of your ingredients. Whisk all ingredients together in a small bowl. Store Store in the refrigerator for up to 2-3 weeks. Blood Oranges Blood oranges are only in season for a short time. If you cannot find them, you can substitute equal parts fresh orange juice and lemon juice (approximately 3 Tbsp. of orange juice and 3 Tbsp. lemon juice). Cinnamon Cinnamon in this dressing gives a fall/winter vibe. If you want a more all-around dressing, omit the cinnamon. Flavorful dressing with fresh squeezed blood oranges, aged balsamic, and a touch of maple syrup! You might also enjoy
Cajun Buffalo Chicken with Crispy Green Beans
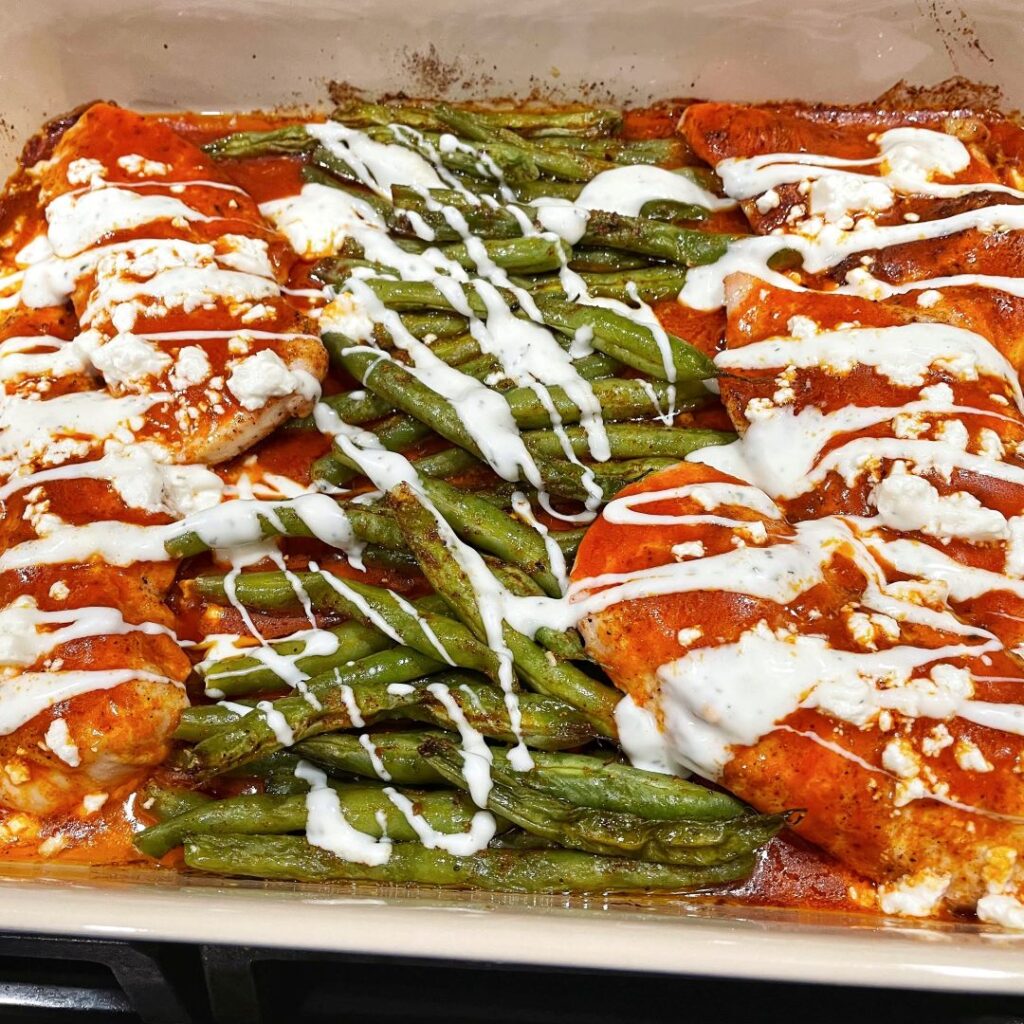
I am in LOVE with this ONE-DISH Cajun Buffalo Chicken with Crispy Green Beans! Super EASY and only 5 minutes to prep, it is perfect for family weeknight meals! This meal was created one night when my husband was craving a low-carb, spicy (but not TOO spicy) dinner. I did a quick survey of my pantry and fridge and Cajun Buffalo Chicken with Crispy Green Beans was born! The chicken bakes up moist and delicious with a little bit of heat from the Cajun seasoning, while the green beans get beautifully roasted and tender crisp. Then this dish gets ramped up with your classic buffalo chicken flavors: Frank’s Red Hot Sauce, feta or blue cheese crumbles, and cool ranch dressing. To keep things healthier, I use a Greek yogurt ranch dressing. Cajun Buffalo Chicken with Crispy Green Beans looks and tastes FANTASTIC! I hope you enjoy this dish as much as we do! How to Make Cajun Buffalo Chicken with Crispy Green Beans Preheat Preheat oven to 400°F. Lightly grease a 9×13 casserole dish. Assemble Spread the green beans across the middle of the casserole dish. Arrange half of the chicken on the left and half on the right of the beans. Drizzle olive oil over the chicken and green beans. Season the chicken and green beans with the Cajun seasoning and salt. Bake Bake uncovered in the oven for 30-35 minutes until chicken reaches an internal temperature of 165°F and the green beans are tender crisp. Sauce it up! Drizzle Frank’s Red Hot Sauce over the chicken. Sprinkle feta cheese over the chicken and green beans. Finish with a drizzle of ranch dressing. Enjoy! One-dish Cajun Buffalo Chicken and Crispy Green Beans is EASY to make and has classic buffalo chicken flavors! You might also enjoy
Lasagna Soup
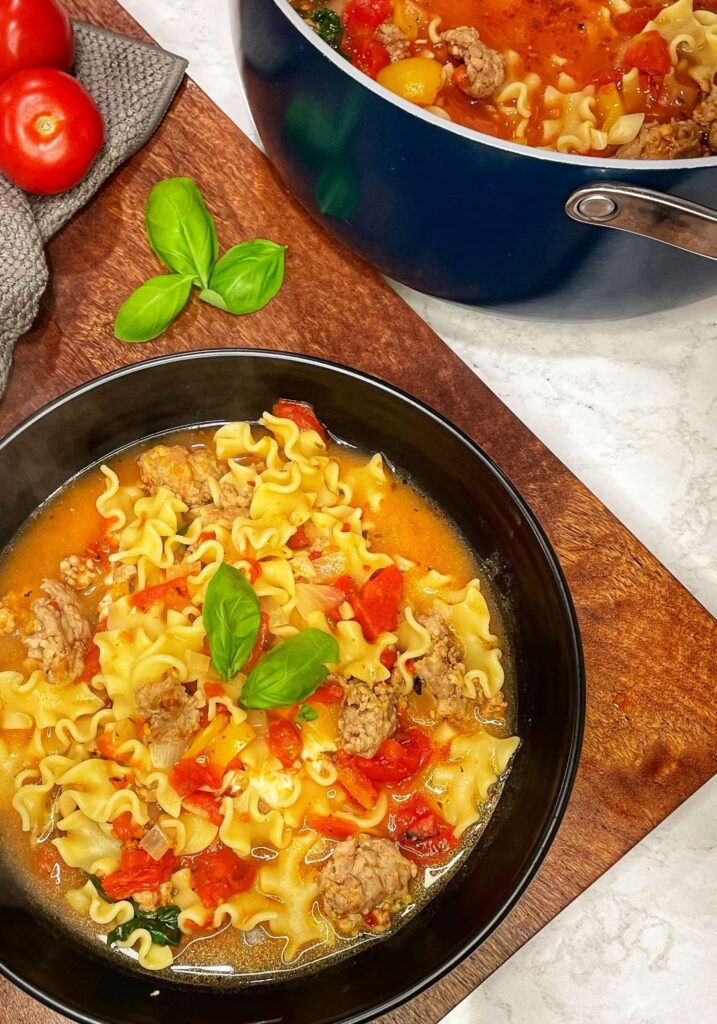
Lasagna Soup is the PERFECT comfort food for a cold winter day! EASY to make, you can have this on the table in less than an hour. Filled with creamy ricotta, perfect bites of sausage, and mini lasagna noodles – it is so cozy! Our family loves soup and this is the MOST frequently requested! I’ve made this for years and now, our oldest kids, in their 20’s, ask for the recipe so they can make it for their friends and roommates. Another reason I love this soup is because it is so flexible. If you don’t have a bell pepper, add 2 onions instead of one. Don’t like pork sausage? Use a good Italian chicken sausage. Can’t find mafalda pasta? Use fusille or farfalle. Make it with your family’s tastes in mind and they will love it! When you stir together the cheese and that lovely tomatoey broth, it turns into a wonderful, cheesy bowl of perfection! Sooo yummy! I can’t wait for you to try it! How to Make Lasagna Soup Prepare cheesy filling In a medium bowl, mix together the ricotta, Parmesan, salt and pepper. Set aside. Brown Sausage and onions Heat a drizzle of olive oil in a large pot over medium heat. Add sausage. Break into bite sized pieces and brown for about 5 minutes. Drain fat as needed. Add in onions and peppers, cook until translucent, about 5-6 minutes. Add garlic, oregano, and red pepper flakes. Stir through. Add tomato paste and mix well. Cook for 3-4 minutes until tomato paste turns rusty brown. add tomatoes and stock Add diced tomatoes, bay leaves, and chicken stock. Bring to a boil and then reduce heat to simmer for 30 minutes. Boil Pasta In the meantime, bring water to boil in a medium saucepan. Cook mafalda pasta according to the directions on the package. Drain and set aside. Add basil and pasta to soup Add fresh basil and pasta. Mix in until basil wilts – about 1-2 minutes. To serve To serve, scoop a large spoonful of the cheese mixture into each bowl. Ladle in hot soup and top with mozzarella cheese. Stir together to blend the creamy cheese into the soup for all of the deliciousness! Everything you love about lasagna in an easy-to-make soup! Cheesy, tomatoey, and lots of noodles! You might also enjoy