
Tuna Onigiri (Japanese Rice Triangles)
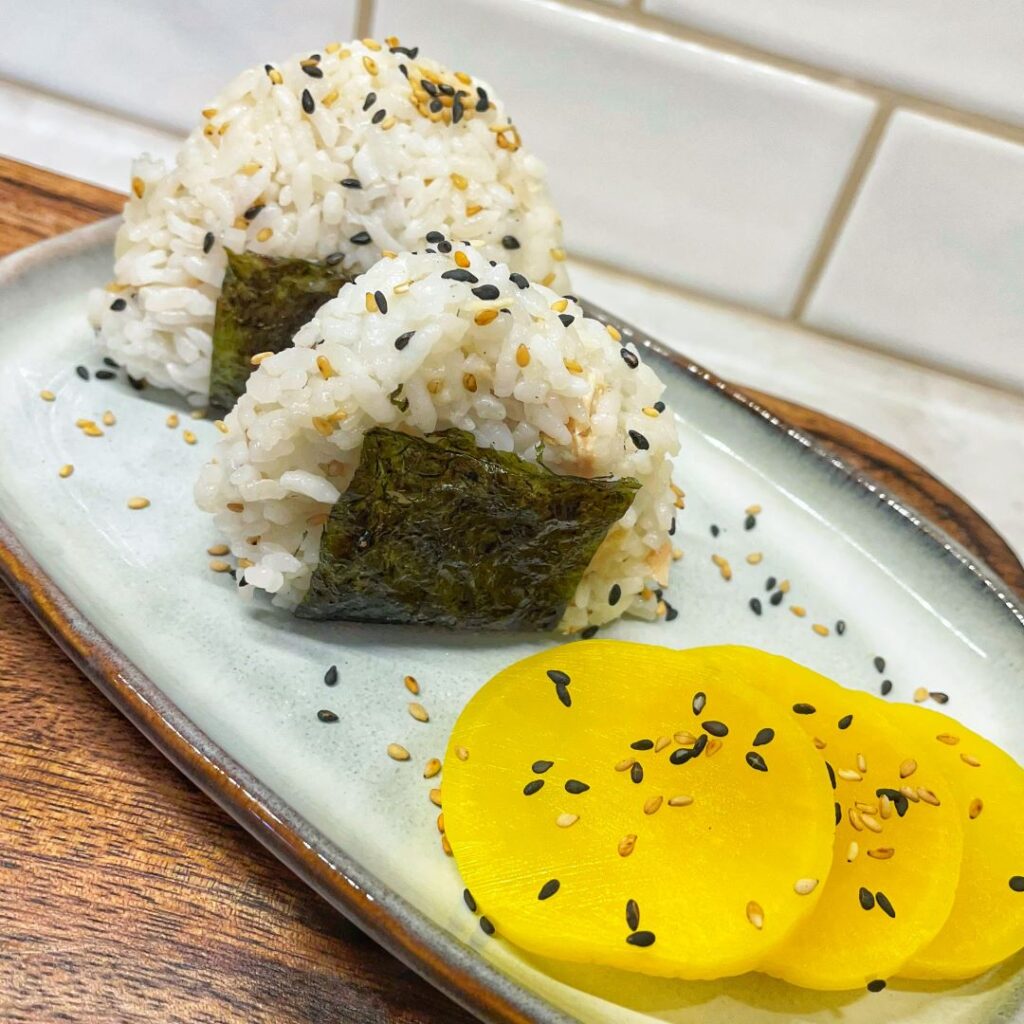
I am so excited, everyone! This is officially my 50th recipe on my food blog! Woot! Woot! I am having so much fun posting and I hope you are all enjoying the posts as well!
Spicy Shrimp and Mango Sushi Stacks
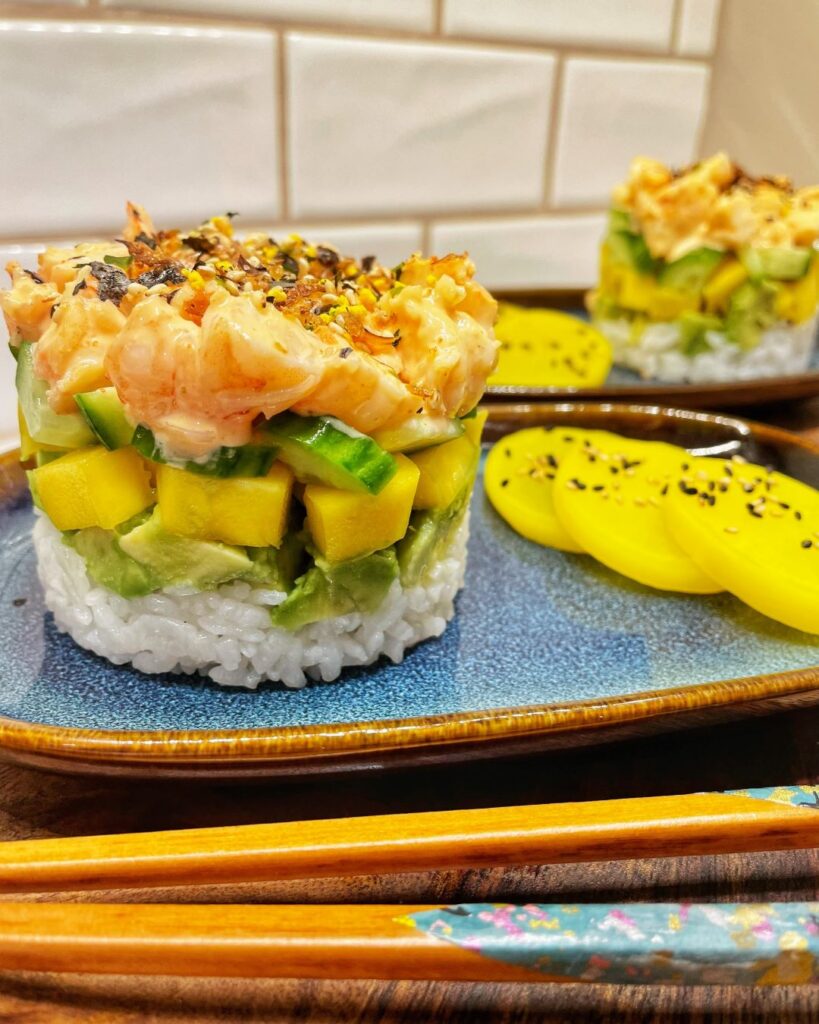
There are 5 layers to these Spicy Shrimp and Mango Sushi Stacks: seasoned sushi rice on the bottom, topped with creamy avocado, mango, crunchy cucumber, and finally the spicy shrimp. You can add furikake (Japanese rice seasoning) on top for garnish.
Perfect Pork Gyoza
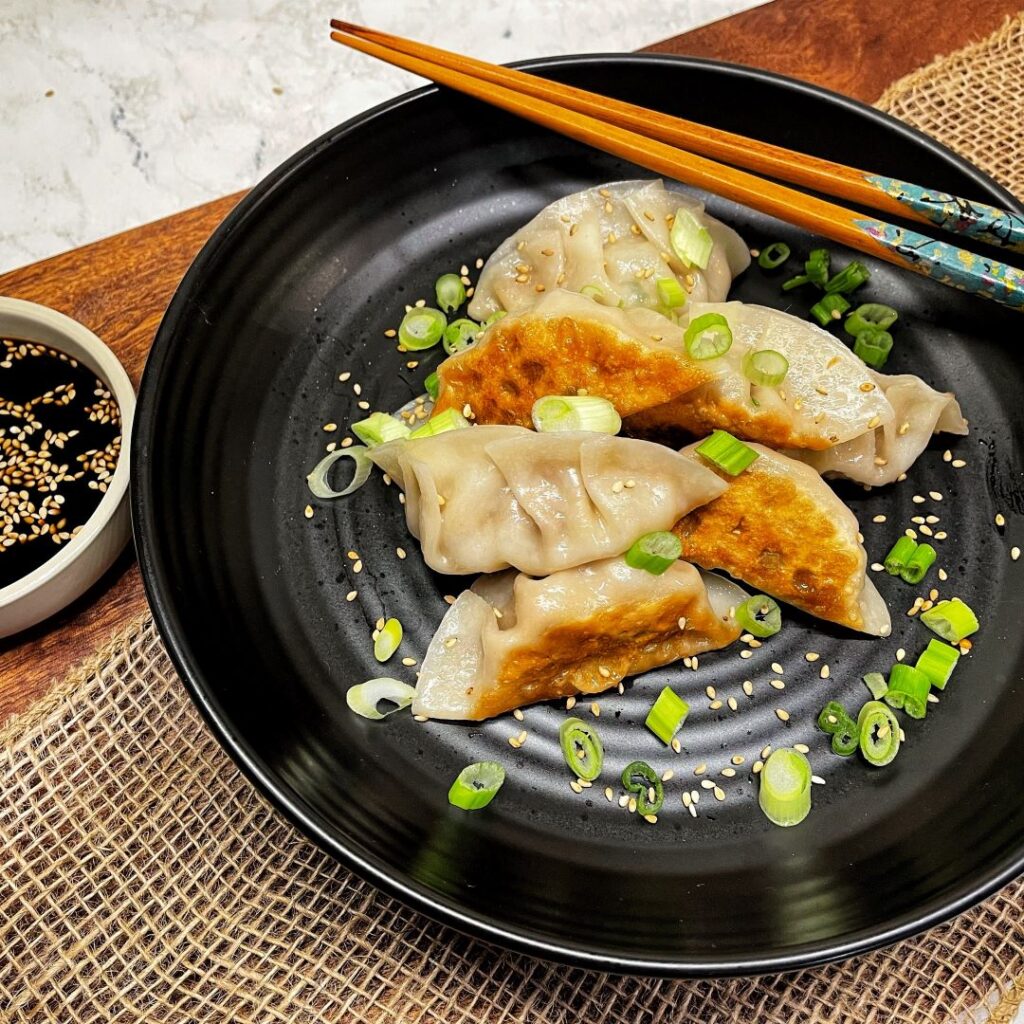
Lunar New Year is a time to celebrate with your family and friends. It is also a great time to indulge in many types of Asian appetizers. One of my favorites is gyoza! Gyoza are Japanese style dumplings that are steam fried. That means you fry the bottoms until golden brown and then steam the gyoza until the wrapper and filling are plump and tender. You then take these perfect pockets of goodness and dip them in a lovely, tangy dipping sauce. It is the perfect blend of savory Japanese flavors that dances in your mouth! The easiest shape to make is the basic half moon where you simply fold the dumpling wrapper in half over the filling. If you want to make more decorative shapes, check out the numerous dumpling folding tutorials online. For this recipe, I do a fan shape with 4 pleats. Regardless of how you fold them, they will be delicious! How to Make Perfect Pork Gyoza Dipping sauce Stir ingredients together in a small bowl. Set aside. Set up dumpling making station Line a large baking sheet with parchment paper, get a small bowl of water, and dumpling wrappers. Time to make the dumplings Take one wrapper and lay it in your hand. Scoop about one tablespoon of filling in the center of the wrapper. Dip your finger into the water and moisten the edges of the wrapper. Fold wrappers in half, over the filling, in a half moon shape. Pinch shut at the top and then press along the edges to seal the sides together. If you are comfortable, you can pleat the dumpling for a more decorative look. Gently push the dumpling down to create a flat bottom. Set on the cookie sheet and cover with a slightly damp tea towel to keep the wrappers from drying out. Repeat with the rest of the gyoza. Fry Heat oil in a large non-stick skillet over medium heat. Place a single layer of gyoza in the skillet and fry 3-5 minutes until the bottoms are golden brown. Steam Add a ½ cup of water to the pan (it will sizzle loudly) and quickly put a lid on the skillet. Steam the gyoza for 4-5 minutes until the water has mostly evaporated. Sauté Sauté for an additional minute to recrisp the bottoms. Serve Serve gyoza with dipping sauce. Enjoy! Recipe Notes To freeze Place a baking sheet with gyoza in the freezer. Freeze overnight. Once frozen, place gyoza in a freezer safe container. To cook Follow the same instructions, you just may need an extra minute or two. Steam fried Japanese dumplings filled with a savory pork mixture. Served with a tangy dipping sauce. You might also enjoy
Crispy Vegetable Spring Rolls with Sweet Chili Sauce
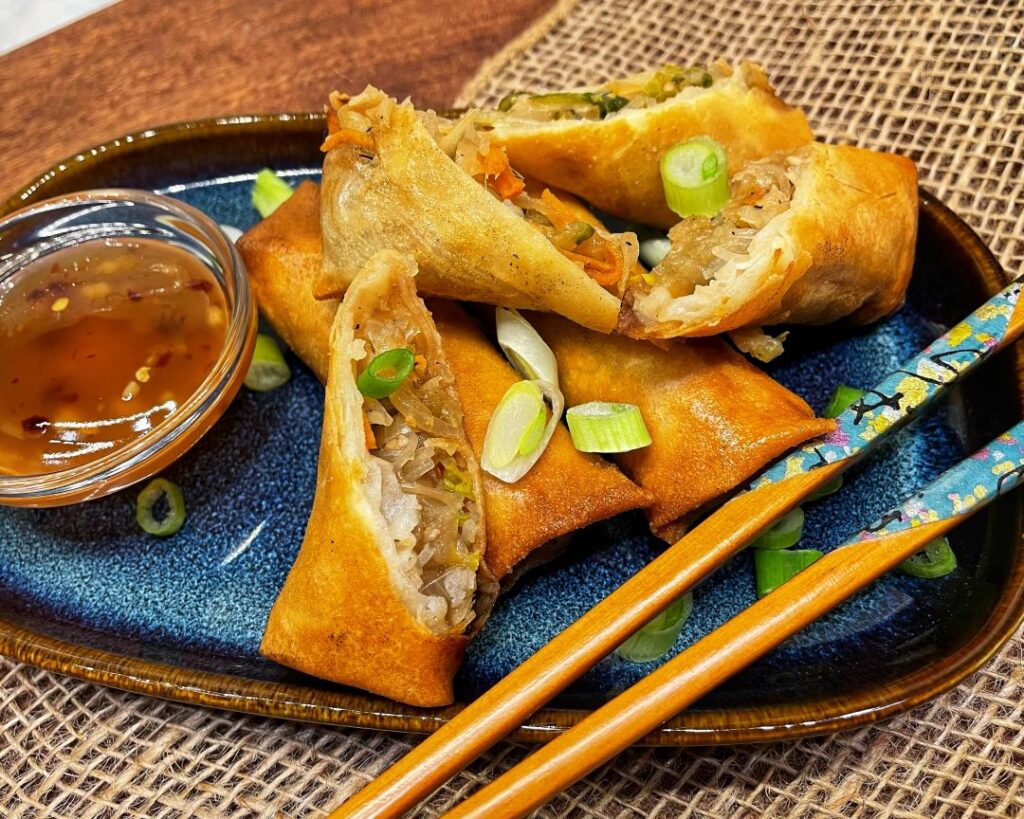
A couple weeks ago I posted about my love of crispy spring rolls. Then we were invited to go to my cousin’s New Year’s Eve party and I wanted to bring them. To accommodate everyone, I chose to make vegetable spring rolls and you know what? I think I may like them even more than the pork and shrimp ones!!! Crispy and filled with veggies and glass noodles, you get a perfect bite every time! To elevate your game a bit more, I also included an absolutely delicious sweet chili sauce recipe inspired from simplyhappening.com. While it is admittedly easier to purchase a bottle of your favorite sweet chili sauce, I find great satisfaction in making my own, where I can control what ingredients are in the sauce and there are not any preservatives or artificial food dyes. Once you make your own spring rolls and sweet chili sauce, you will choose them over takeout every time! Do not get intimidated by the process – it’s a bit time consuming – but so worth it! The great thing about spring rolls is that you can make huge batches, freeze them, and fry some up whenever you want a quick appetizer. You can even make them in the air fryer! Come cook with me! How to Make Crispy Vegetable Spring Rolls with Sweet Chili Sauce Prepare the Filling Slice and shred all of the vegetables. Set aside. Prepare the glass noodles Follow the package directions. *Sweet potato glass noodles usually require a few minutes of boiling while mung bean glass noodles soak in hot water. Heat 1 Tbsp. of oil in a wok or deep skillet on medium-high heat. Add the vegetable mixture along with the minced ginger and garlic. Sauté for 2-3 minutes until it is mostly done. Add the soy sauce, mix well. Cook for another minute. Turn off the heat and toss in the fresh basil and mix again. Season with salt and pepper to taste. Transfer to a colander to drain excess liquid. Then spread out on a lined rimmed baking sheet. Add the glass noodles and toss to mix. Cool for about 10-15 minutes until room temperature. You do not want hot filling for your spring rolls. They will get soggy and difficult to roll. Sweet Chili Sauce In a saucepan, whisk together all of the ingredients except the cornstarch and cold water. Bring to a simmer over medium-low heat. Simmer and stir often for 8-9 minutes. Mix cornstarch and cold water in a small bowl. Turn heat to medium-high. Whisk in the cornstarch slurry, stirring constantly until it thickens and gets a glossy sheen (about 1 minute). Take off of the heat and let cool. Transfer to a serving bowl or jar. Set up your spring roll station. You want to have a large baking sheet to put your rolled up spring rolls. Have a light towel to cover them so they do not dry out while you are rolling the rest of the spring rolls. Have your spring roll wrappers ready and covered with a towel. Spring roll wrappers are very thin and can dry out quickly. Covering them with a towel will keep them moist and pliable. Lightly beat the egg in a small bowl and have it near your spring roll station with a pastry brush. Rolling Spring Rolls Take one spring roll wrapper and lay it on the counter in a diamond shape with the corner pointed at you. Scoop about 2 Tbsp. of filling and place it on the bottom third of the wrapper. Gently fold over the bottom corner and start rolling your spring roll. When you get to the center (halfway) of the wrapper, stop. Fold in the left and right sides of the wrapper towards the center. Brush the top corner of the wrapper with the egg wash to help seal it tightly. Finish rolling the spring roll and place on the baking sheet, seam side down. Cover with the towel to keep moist. Repeat the process with the remaining wrappers and filling. Cooking Spring Rolls Line a large baking sheet with paper towels to absorb the excess oil from the spring rolls. Fill a small stockpot or 2 qt. saucepan with about 2” of high temperature cooking oil. Or if you have a deep fryer, you can use that. Heat the oil over medium-high heat for several minutes. To test if the oil is hot enough, stick a bamboo skewer or chopstick into the oil. If you see tiny bubbles rapidly bubbling around the skewer, it is ready for frying. Using a pair of tongs, gently add 3-5 spring rolls into the hot oil. Fry for 3-4 minutes until they are evenly browned. Don’t overcrowd the pot, you do not want the oil to cool down and absorb into the spring rolls. Once the spring rolls are golden brown, remove them and place them on the paper towels or wire rack to drain. If the spring rolls appear to be browning very quickly, reduce heat slightly. Continue frying the remaining spring rolls and draining on the paper towel lined baking sheet. Serve with sweet chili sauce and enjoy! Recipe Notes You can add 1 cup of bean sprouts or chopped water chestnuts for additional crunch. This recipe easily doubles if you want to make a large amount for a party. Spring roll wrappers are found in the frozen section at Asian supermarkets. You can use the smaller 5” wrappers, just use 1 Tbsp. of filling instead of 2 Tbsp. Do not use the dried rice paper wrappers in the grocery stores! They are used for making fresh spring rolls and will not fry well at all! To Freeze Spring Rolls freeze very well! Place fried spring rolls in the freezer on a baking sheet. Once frozen, they can be put in a ziploc bag and will keep for about 3 months. Follow the same instructions for frying – they may need an additional minute or
Corey’s Chorizo Meatloaf with Spicy Maple BBQ Glaze
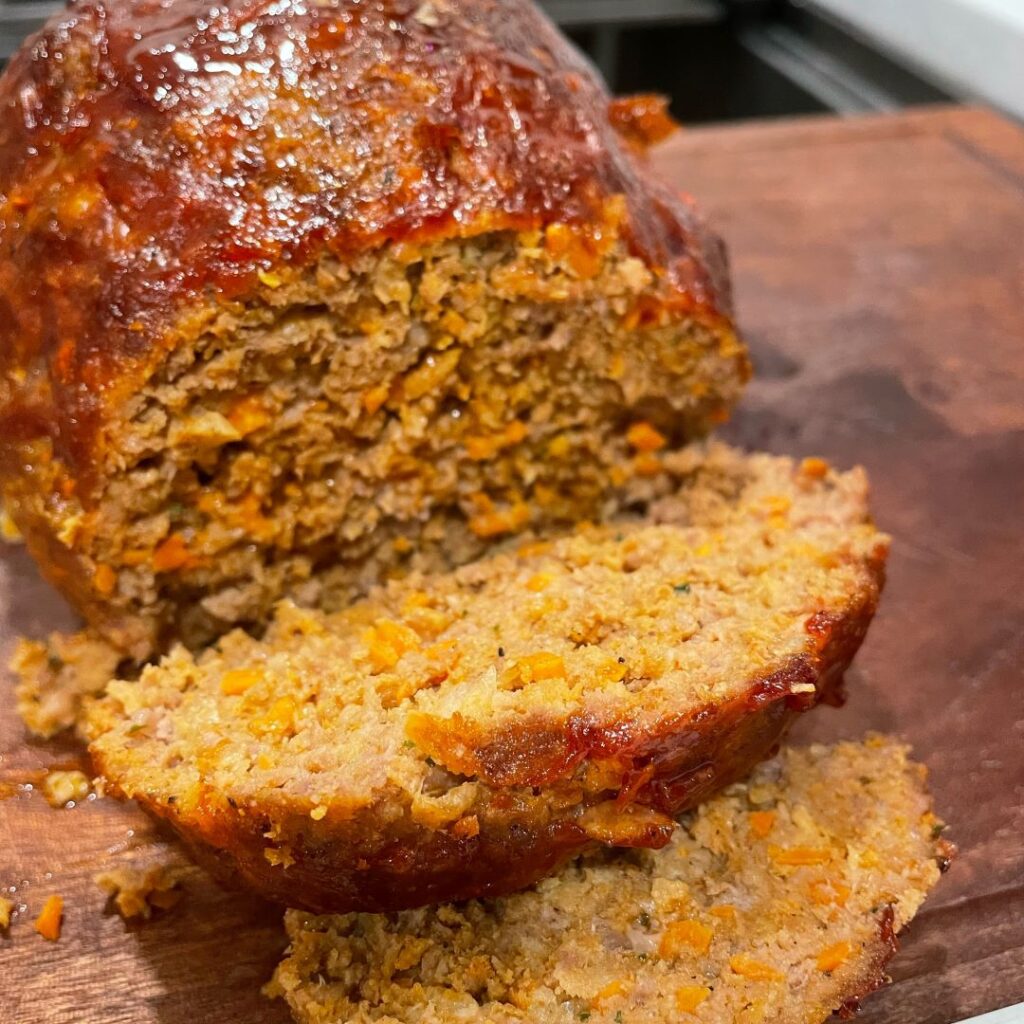
My very favorite meatloaf is a recipe that my husband created. It combines chorizo sausage with ground beef to create an intensely flavorful meatloaf that is finished off with a tangy, slightly spicy glaze that just takes it over the top! If you are looking for a new twist on an old favorite, look no further – you have found it! Enjoy! How to Make Corey’s Chorizo Meatloaf with Spicy Maple BBQ Glaze Preheat Preheat the oven to 400°F. Grease a loaf pan and set aside. Chop Veggies Finely chop the carrot, celery, and onion in a food processor. Mix meatloaf ingredients together In a bowl, mix together the finely chopped carrot, celery, onion with the chorizo, ground beef, garlic, black pepper and egg. Add in the Panko breadcrumbs. You may need a little more or a little less to get that “meatloaf” consistency. Bake Shape into a meatloaf and place in a greased loaf pan. (We have a meatloaf pan that drains the fat underneath while cooking.) Sprinkle the top of the meatloaf with some sea salt. Place in the oven to bake at 400°F for an hour. Make the Spicy Maple BBQ Glaze Meanwhile, make the Spicy Maple BBQ Glaze. Put the BBQ sauce, ketchup, and spicy maple syrup in a small bowl. Mix well. (Double the amount if you want some to dip your meatloaf.) Baste meatloaf After one hour, use a basting brush and generously glaze the meatloaf. Put back into the oven until temperature reads 160°F. (approximately 5-15 minutes more depending on your oven) Let Rest Remove meatloaf from the oven and allow it to rest for 10 minutes before slicing. Serve with additional Spicy Maple BBQ Glaze. An intensely flavorful meatloaf that combines chorizo sausage and ground beef. Finished off with a tangy, slightly spicy maple BBQ glaze that takes it over the top! You might also enjoy
Roasted Tomato and Feta Frittata
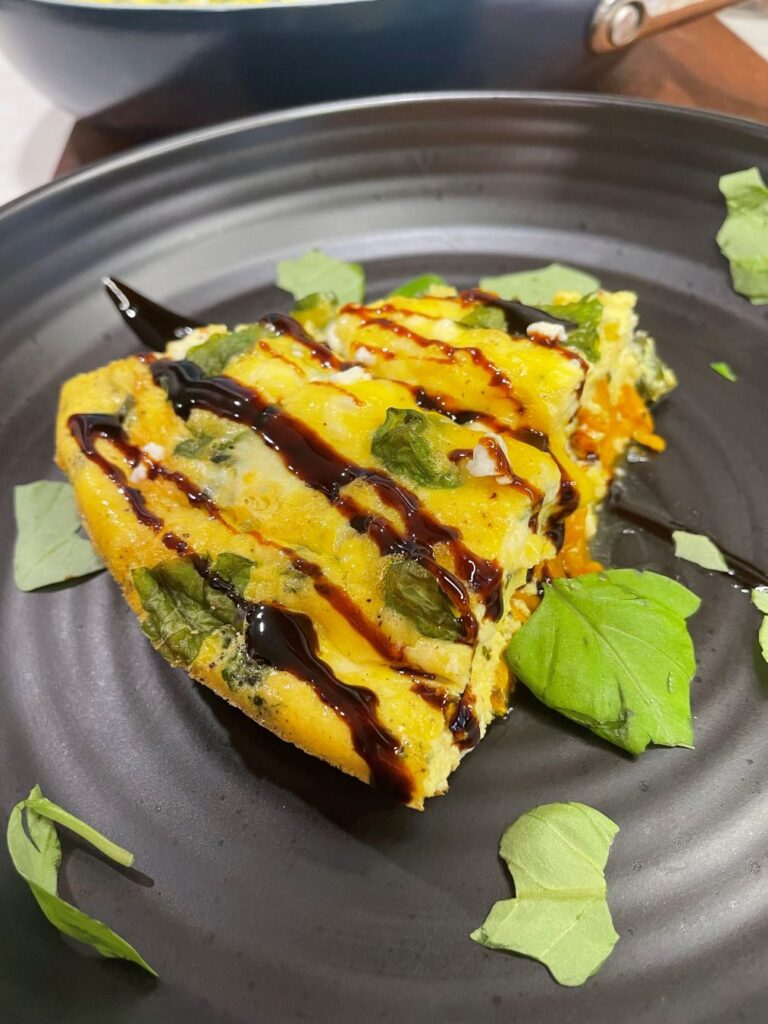
After the holiday rush, I wanted something easy and delicious for breakfast…with a reasonable amount of veggies to make it healthy. What to make??? Frittata! A great frittata is creamy, custardy, and full of veggies. It should not be dry or bland. They are also great to use up the bits of veggies in your refrigerator for an easy brunch recipe or weeknight meal. Frittatas also are great to pack and reheat for work lunches. Serve it with a side salad and you are good to go! My version is a hands-off, baked frittata filled with sweet, roasted cherry tomatoes (Look at those golden beauties from my garden!), chopped kale, and creamy feta cheese. Sooo good!!! How to Make Roasted Tomato and Feta Frittata Wilt veggies Warm a small pan over medium heat. Drizzle with olive oil and add kale and minced garlic. Add a pinch of red pepper flakes. Sauté for 1-2 minutes until kale is wilted. Add in the roasted cherry tomatoes to combine. Sauté for one more minute. Preheat Preheat the oven to 400°F. Spray an oven-safe skillet with cooking spray. Add the roasted tomatoes, kale, ¾ of the feta (reserve a couple tablespoons to sprinkle on top), and the basil. Whisk eggs In a large bowl, whisk together the 8 eggs, heavy cream, and sea salt. Pour the egg mixture over the vegetables. Bake Bake for 20-25 minutes until the eggs are set. Remove from the oven and sprinkle the reserved feta cheese on top. Let the frittata cool for 5 minutes. Slice and garnish Slice into 6 pieces and serve with a drizzle of balsamic glaze and additional basil. Enjoy! A baked frittata filled with sweet, roasted cherry tomatoes, chopped kale, and creamy feta cheese! You might also enjoy